Wednesday, December 3, 2014

The Double Chain Knot

This pattern is probably the easiest pattern to make.Like all bracelets, this is just simple forward and backward knots. Here I am going to show you how to make the very simple double chain knot bracelet.


First, I started out with six strings with only two colors. Three of them are pink, and three of them are blue. Each of the strings are 22 inches long.


I tied one end of the strings into a knot, and I clipped the strings onto a piece of cardboard to keep them firm. Then I spread them out into an "A" shape.


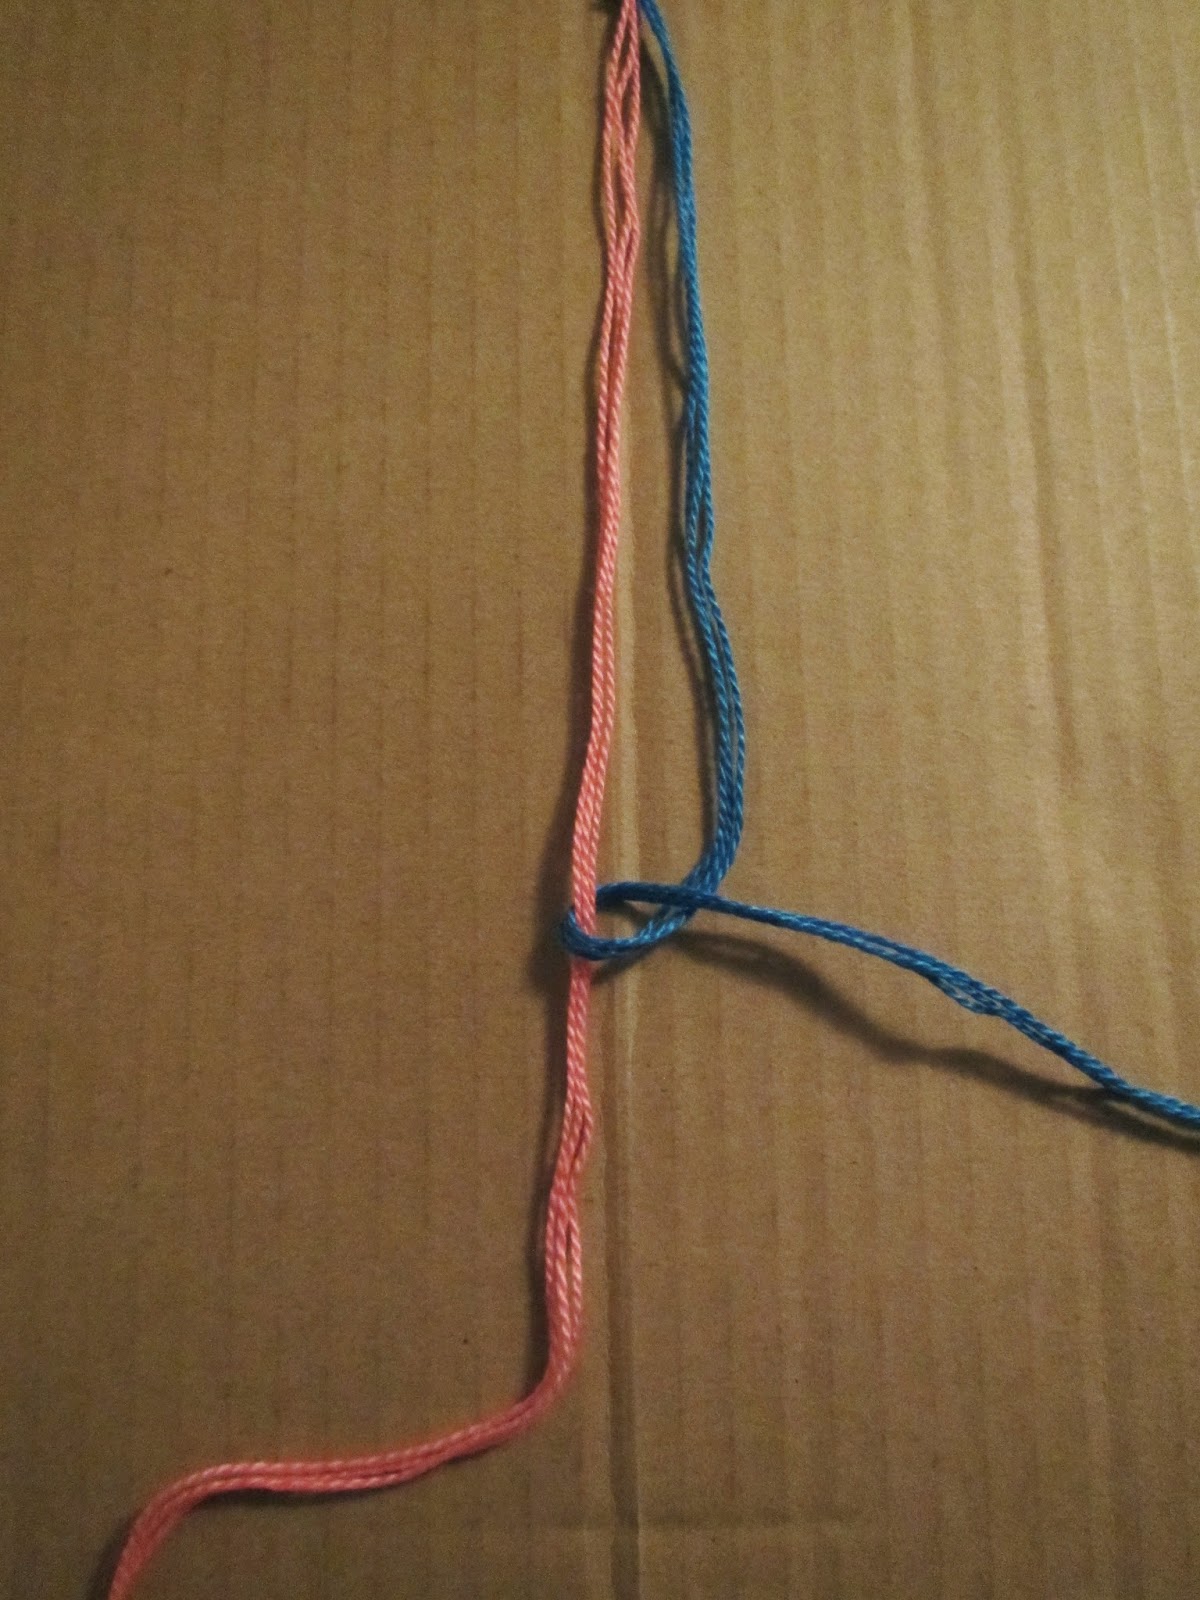
Then I take the blue string on the left, and make a backward knot onto the pink string.


Then pull tightly. I only do one knot because I am using three strings, and it already makes the color pop out more.

Then I take the string on the left, which is the pink, and make a forward knot onto the blue.

Now pull tightly, and make only one knot as I mentioned previously.


Continue to make the knots until the bracelet is as long as you desire. Then cut off some of the ends, but leave some of it to tie your bracelet. Then you are done!  :)

Tuesday, December 2, 2014

The Basics

There are four different types of knots that you can use in every friendship bracelet that you make. There is the forward knot, the backward knot, the forward-backward knot, and the backward-forward knot. Here, I am going to show you how to do all four of these knots in a little more detail than in my tutorials.


The Forward Knot:

I picked two strings blue and green.
I take the blue string and put it over the green string like I am making a 4


Now I put the blue string under the green string. Then back over the blue.

Then I pull the blue string tightly over the green. You do this knot twice so that you can see the color easier. If you notice now the blue string is on the right side instead of the left.


The Backward Knot:


Here are two strings, on the left is a light blue, and on the right is a yellow.


Now take the yellow string and put it over the light blue string and make a backwards four.


Then take the yellow string and put it under the light blue string. Then put it back over the yellow.


Then I pull the yellow string tightly. You do this twice, and now you can see the yellow string is on the left side now.

The Forward-Backward Knot:


I have the blue and green strings again.


First I make a forward knot


Then I make a back ward knot with the blue string


Then I pull tightly. For this knot I only do each knot once, so that it does not look too bulky. Other wise I would have four knots. Now notice that the blue string is back on the side it originally was on.
The Backward-Forward Knot:

I have two strings light blue on the left and yellow on the right

First I make a backward knot


Then I make a forward knot with the yellow string

Then I pull tightly, just like I did with the forward knot, only once. Notice the same thing, now the yellow string is on the right side again.


There you have it, these are the four basic knots that you can use in any friendship bracelet.

Sunday, November 30, 2014

The Chevron Pattern

When I was in my senior year of high school; I started making friendship bracelets as a hobby. I made some for all of my friends, and they loved them! As I continued making them, I found out how to make all kinds of beautiful patterns and styles. My favorite pattern to make is the chevron. Below, I put a step by step guide so that you can create one for yourself or for your friends. Let's get started and have some fun!


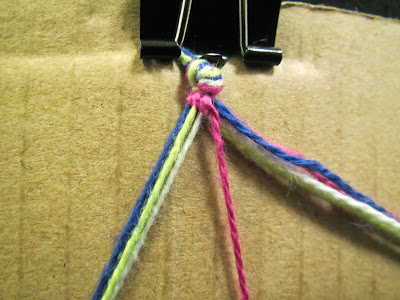
Here I took four strings: magenta, navy blue, green, and white. Each string is 50 inches long, and I took the ends together to fold the strings in half to make eight strings. Then I took the top and I tied it into a loop.


Now I spread out all eight strings to make it easier to see each one.


Now we are going to do a forward knot, starting from the left with the magenta string.


First, we put the magenta string over and under the navy blue string, and back over the magenta then pull tightly. Do this twice on each string, starting with the navy blue so that the magenta string ends up in the middle. This is the forward knot.


Now leave the magenta string in the middle so now we can start from the right side.


Now for the right side we are going to make backward knots instead of forward knots. Take the magenta string over the navy blue string.


Put the magenta string over and under the navy blue string, and back over the magenta. Pull tightly and do the same thing on the next three strings going from right to left this time.


This is how the strings are going to look when you get to the middle.


Now tie the middle strings together twice (I usually use two forward knots to tie the middle together.) 


Now we do the same thing with the next row. Starting from the left we take the navy blue string and make a forward knot onto the green string. Do this twice on the next three strings until you get to the middle. (See the picture below on how to do a forward knot.)


Then go to the right side and do the same thing except this time you are going to be doing backward knots on the next three strings from the right. (See the picture below on how to do a backward knot.)


Continue to add more rows until the bracelet is as long as you desire.


To finish the ends, I usually braid them into a four part braid and tie them at the ends.

Here is a close up of the end of the bracelet with the four string braid. Then I cut off some of the excess string, and it is done!